This article provides a step-by-step guide on how to install a Minecraft plugin on your server. Plugins can enhance your server's gameplay, add new features, and improve performance. However, it’s crucial to follow proper steps and only install plugins from trusted sources to ensure server stability and security.
Disclaimer: Installing plugins from untrusted sources can compromise the security and functionality of your Minecraft server. MS-Cloud is not liable for any damages caused by malicious plugins, including data loss, performance issues, or security breaches. Always ensure you are obtaining plugins from verified, reputable sources such as SpigotMC, Bukkit, or similar trusted repositories.
Step 1 - Check your current server version is compatible with the plugin you are trying to install
Most plugins will have either support a variety of servers on a range of versions (e.g. 1.7.10 - 1.12.2) or may only support 1 specific version (e.g. 1.14). Check to make sure the plugin you are installing will be compatible.
Step 2 - Download your desired plugin
Download your plugin onto your local device.
Step 3 - Upload the plugin onto your server
You can upload the plugin either by using the "Upload" feature in our intuitive game panel, by navigating to the plugins directory, and clicking the "Upload" button:

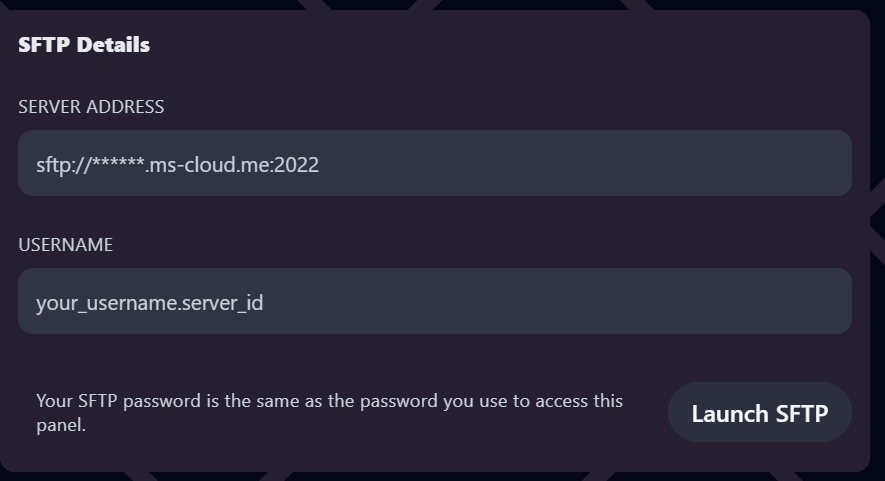
You can also navigate to Settings and view the SFTP Details for your server, should you wish to use a File Transfer Protocol application, such as FileZilla:
Step 4 - Restart your server
Restart your server to load your plugin!
If you encounter any issues, please open a support ticket.
